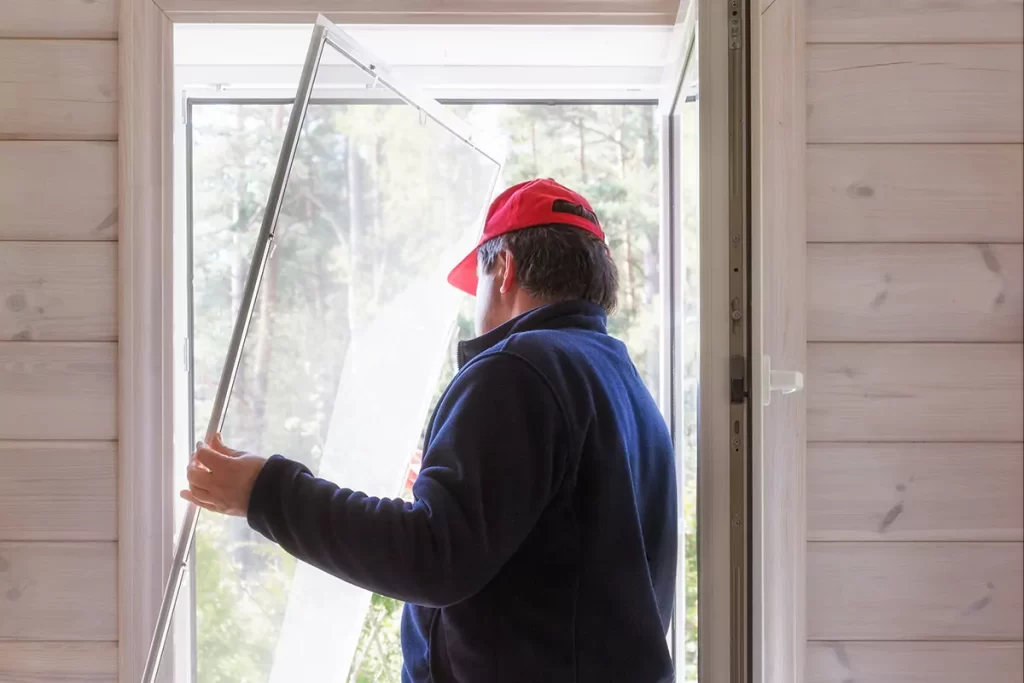
Installing a New Storm Door: A Comprehensive DIY Guide
A storm door not only shields your entryway from the elements but also enhances energy efficiency and curb appeal. Installing one can be a rewarding DIY project if approached with a well-structured plan. This blueprint guides you through the process, ensuring a smooth and successful installation.
Materials and Tools:
- Storm door kit: Includes the door, hinges, handle, and installation hardware
- Drill/driver: With a variety of drill bits and screwdriver attachments
- Screws: Ensure they are compatible with your door and frame material
- Level: To ensure the door is plumb and level
- Measuring tape: For accurate measurements
- Caulk: To seal gaps and prevent drafts
- Safety glasses: To protect your eyes
- Work gloves: To protect your hands
- Ladder or step stool: For reaching high areas
- Optional: Reciprocating saw (if removing an existing door)

Step-by-Step Instructions:
Preparation:
-
- Remove the old storm door (if applicable): Unscrew hinges, handle, and any other hardware. Be cautious not to damage the door frame.
- Clean the door opening: Remove any debris or old caulk from the frame.
- Measure the opening: Double-check measurements to ensure the new door will fit properly.
- Unpack the new storm door kit: Familiarize yourself with the components and instructions.
Install hinges:
-
- Position the door: Place the door in the opening, ensuring it’s centered and flush with the frame.
- Mark hinge locations: Use the existing screw holes (if applicable) or the template provided with the door kit.
- Pre-drill pilot holes: Drill small holes to prevent the wood from splitting when inserting screws.
- Attach hinges: Secure the hinges to the door using the provided screws.
Install the door:
-
- Lift the door into the opening: Enlist a helper if needed, as storm doors can be heavy.
- Align the door: Ensure it’s level and plumb in all directions.
- Attach hinges to the frame: Secure the hinges to the frame using the provided screws.
- Test the door’s operation: Open and close the door to ensure it swings freely without binding.
Install the handle and closer:
-
- Position the handle: Follow the manufacturer’s instructions for handle placement.
- Mark and pre-drill holes: Drill pilot holes for the handle screws.
- Attach the handle: Secure the handle to the door using the provided screws.
- Install the closer: Follow the instructions provided with the closer to fix sagging storm door issues. Adjust the closing speed and latching force as needed. To discover more about maintaining your storm door, refer to the manual or online resources.
Seal and finish:
-
- Caulk around the door frame: Apply a bead of caulk to the exterior perimeter of the door frame to prevent drafts and water infiltration.
- Adjust the sweep: The sweep is a flexible strip at the bottom of the door. Ensure it makes contact with the threshold to prevent drafts.
- Check for leaks: Close the door and look for any gaps that allow light to pass through. Seal any gaps with additional caulk.
Additional Tips:
- Choose the right storm door: Consider factors like material (aluminum, vinyl, wood), style, and features (interchangeable glass/screen panels, ventilation options).
- Weatherstripping: Some storm doors come with pre-installed weatherstripping. If not, consider adding it for improved energy efficiency.
- Painting or staining: If your storm door isn’t pre-finished, paint or stain it to match your home’s exterior.
- Professional installation: If you’re not comfortable with DIY projects, hire a professional to install the storm door.
Installing a storm door is a manageable DIY project that can significantly enhance your home’s functionality and aesthetics. By following this blueprint and taking your time, you can achieve a professional-looking result and enjoy the benefits of a well-installed storm door for years to come.


