How to prepare large planters for outdoor planting
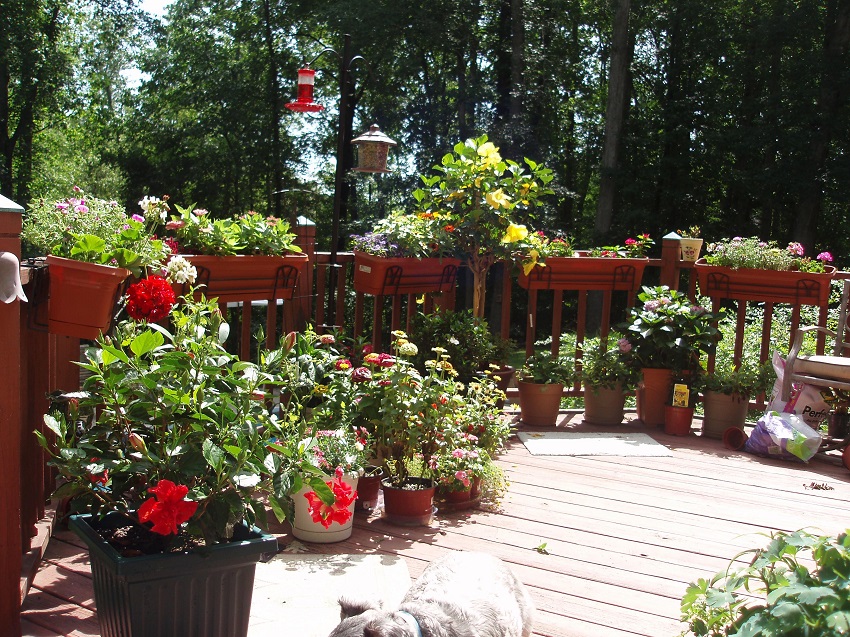
Planters … when I speak of large outdoor planters, I mean almost the one that says, to any size, from a large built-in planter to any stone, ceramic, metal, wood or plastic planter bought in a physical or online store https://getpotted.com/. We take as an example a large planter built to measure, the tips are valid for any size and material. If it fits, it would only exclude the very small planters, where the space for the earth is so scarce, that it is better to take advantage of it completely for the substrate, without too much effort in the drainage.
After buying outdoor planters or building it explicitly, it seems that the process of preparing it for planting is pure procedure and does not deserve special attention. However, the secret for the plants that you are going to plant later to develop with vitality and to shine all their ornamental properties is none other than the substrate from which they are going to feed and the proper preparation of the planters.

What size of planters to use? Well, it will depend on what, how and why, so in each case you should study well and analyze the different factors that can influence the final decision. To give a general rule, always the bigger the better, that is, the largest possible planters, according to space, budget or other factors that determine the particular situation of each garden or terrace.
The reason is that the plants feed on the ground and extend their roots through it, so for the vast majority of plants, the more substrate the better. Keep in mind that in nature there are no planters, this we humans have invented.
How to prepare the outdoor planters to plant?
1 – Drainage
Already parts of a planter bought or built, ok? Because the first step is to take into account the drainage.
Without proper drainage, water will accumulate in the planters rotting the soil, roots and killing plants quickly.
2 – Gravel
Once confirmed that you have drainage in your planters, the goal is to make it work, and not to clog over time because of the land that will be compacted and the roots that will grow and seek to deepen or extend towards the drainage holes.
3 – Mesh
It is not enough to place a layer of gravel, you must place a special plastic sheet just above the gravel to avoid that over time the soil and roots will seep through the pebbles and end up plugging the drainage holes.
4 – Substrate
Once the drainage is guaranteed, the most important is the substrate. The good development of the plants will depend on it, so I do not recommend you save in this section. However good and of excellent quality the plants you are going to plant are, if you do it in a poor or inadequate substrate, the final result will be far from what you had imagined.
5 – Plants
And it’s time to plant. On what to plant we are not going to talk now, because that gives much. Now rather comment that if it is small planters, it is best to fill them with soil only to where they can easily place the plants, and then with the plants already placed finish filling the garden planter.
6 – Watering
These planters are going to have to be watered. If you are not going to do it manually, you must install an automatic irrigation system, very useful because it will allow you to not worry about the subject of irrigation and take advantage of your time in other things, and also the plants will not die when you are on vacation.
7 – Mulching
Basically it consists of covering the surface of the planters with a layer, either organic as for example pine bark, or inorganic as small stones. The benefits are not only decorative, but it manages to maintain humidity, protect the soil from erosion and reduce the appearance of weeds. However, perhaps it only makes sense in planters that are not too small.


